
Herta Space Station Base Zone Chest Guide: Seven Basics and One Precious in 2026
Find every Basic Chest and Precious Chest in Honkai: Star Rail’s Herta Space Station Base Zone with this clean, verified 2026 route.
As a longtime Trailblazer, I still treat Herta's Space Station Base Zone as a kind of annual audit. In 2026, with newer worlds and shinier zones competing for attention, I returned to the station's first area to verify every coffer, and the route remains one of the cleanest early-game resource loops in Honkai: Star Rail. The Base Zone is one of four areas on Herta's Space Station, and it contains seven Basic Chests plus one Precious Chest. Opening them yields Stellar Jade, Credits, experience materials, and destination resources such as Strales—currency that matters whether I am leveling a fresh character or saving for a banner. Tracking them down is like auditing a magician's prop table after the show: every compartment looks ordinary until I know which seams to press. The good news is that the Base Zone has far less verticality than later zones, so the hunt feels like a shallow tide pool rather than a vertical coral reef. Before I list the route, note that the right wing requires completing the Road to Revival side quest from Arlan after the tutorial. Without that quest, one Basic Chest and the Precious Chest stay out of reach.
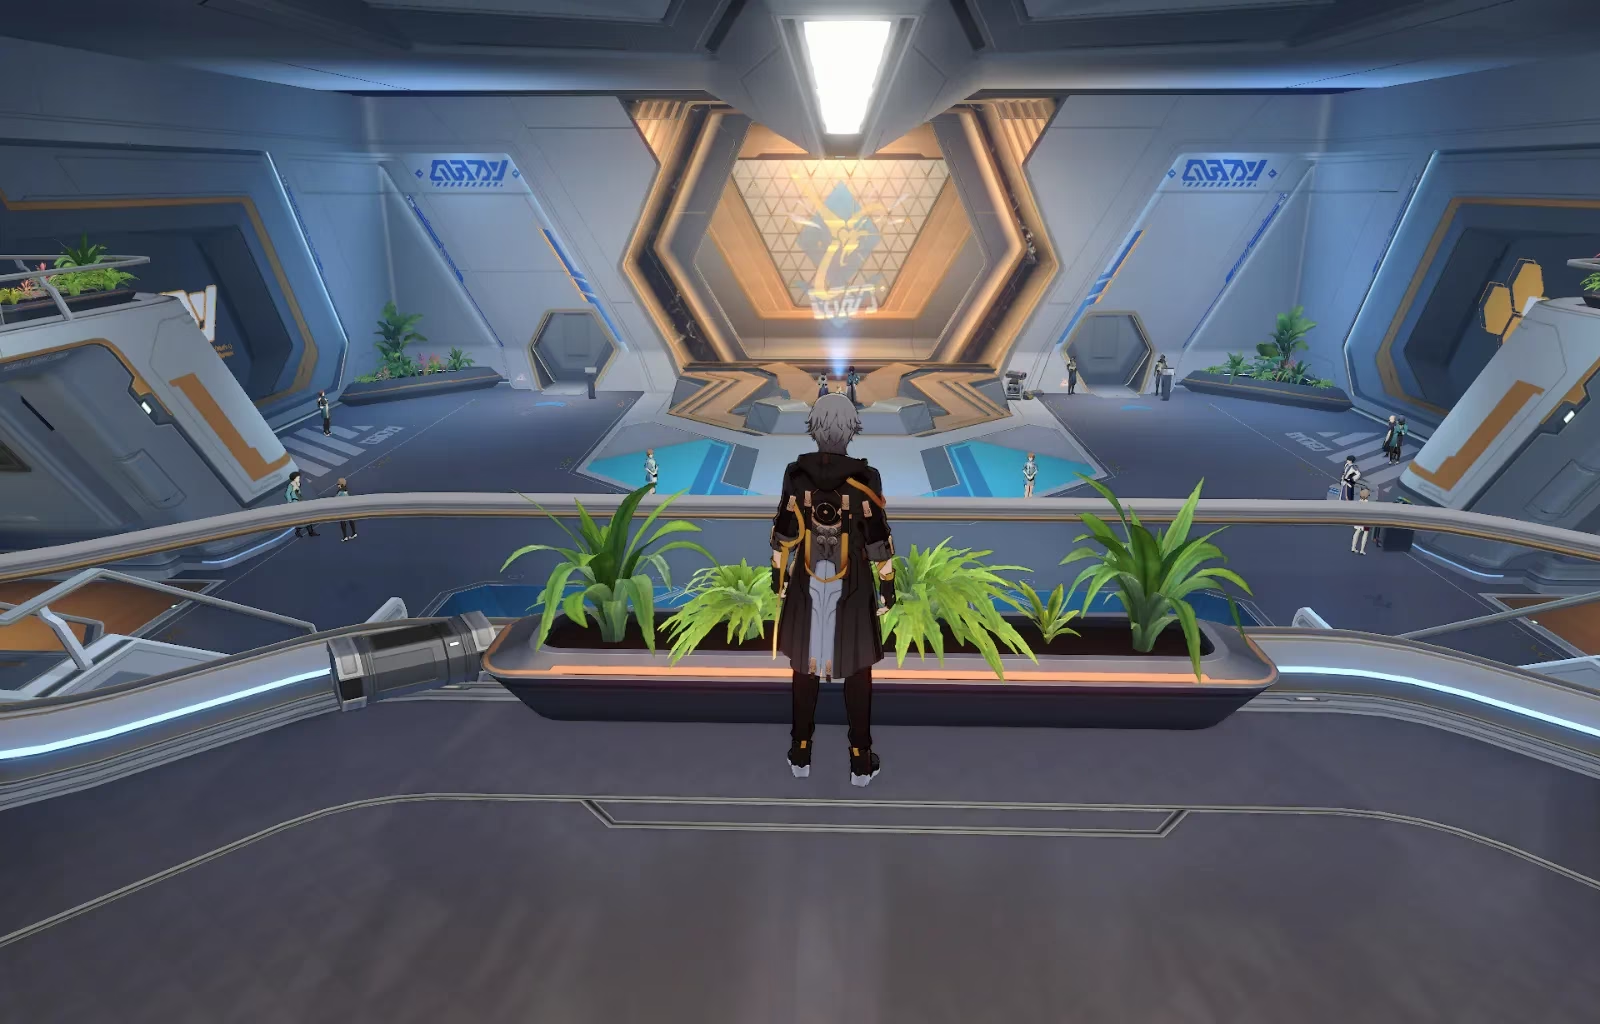
🗺️ The Seven Basic Chests: A Compact Route
I use the Reception Room Space Anchor as the hub for most of this run. The layout is compact enough that I can clear all seven Basic Chests in a single pass, with one detour to the Monitoring Room. Here is the checklist I verified in 2026.
| # | Chest Type | Where I Found It | Access Notes |
|---|---|---|---|
| 1 | Basic Chest | South of the Reception Room Space Anchor | I can also teleport to Stagnant Shadow: Shape of Quanta if I have unlocked Stagnant Shadows. |
| 2 | Basic Chest | Behind the right staircase in the reception room | Tucked next to plants in the corner. |
| 3 | Basic Chest | Beside the Reception Room Space Anchor | On the other side of the wall from the anchor. |
| 4 | Basic Chest | Upstairs in the medical facility | On the right, near plants and a scanning machine. |
| 5 | Basic Chest | Right pathway out of the Reception Room | Found immediately after taking the right exit. |
| 6 | Basic Chest | Monitoring Room | On the right side of the room after teleporting to the Monitoring Room Space Anchor. |
| 7 | Basic Chest | Room opposite the Monitoring Room | Reached by taking the left wing from the Reception Room. |
That table is the skeleton of the route, but the details matter. Chest 1 is easy to miss if I sprint toward the story marker; I prefer to walk south from the anchor and sweep the edges. Chest 2 hides behind the right staircase, where the corner plants act like a soft curtain. Chest 3 is almost a joke—it sits on the opposite side of the wall from the Reception Room Space Anchor, so I often grab it before leaving the hub. Chest 4 requires a staircase climb into the medical facility; I look for the scanning machine and the potted plants on the right. Chest 5 is a reward for choosing the right pathway out of the Reception Room, and it appears so quickly that I sometimes overlook it. Chest 6 sends me to the Monitoring Room Space Anchor, where the chest waits on the right side. Chest 7 is in the opposite room from the Monitoring Room, reached via the left wing from the Reception Room. Together, these seven Basic Chests form a loop that is less like a treasure hunt and more like a well-rehearsed shuttle run.
🔐 The Precious Chest and the Triple Authentication Puzzle
The eighth coffer is the Precious Chest, and it is the reason the right wing matters. It sits behind a locked door in the right wing of the Base Zone. To open that door, I need to solve the Triple Authentication Puzzle, which requires three Access Cards in Herta's Space Station. The puzzle is a three-lock diary, and each Access Card is a different key cut from a different workshop—skip one, and the door stays shut.
I obtained the first Access Card by defeating the Elite Enemy in the Monitoring Room. The other two cards were in the Master Control Room and the Storage Zone. Once I had all three, the locked door opened, and the room beyond was not empty. Two Void Rangers ambushed me as soon as I stepped inside. I recommend bringing a team that can handle a sudden two-target fight; the Precious Chest is worth the scrap, but the ambush is a reminder that Herta's station never hands over its best loot without a test.
💎 Why This Route Still Matters in 2026
In 2026, Honkai: Star Rail has no shortage of resource sinks. Characters need levels, traces, and light cones; banners demand Stellar Jade; and every new destination adds another layer of materials to farm. The Base Zone's chests are not the largest payday in the game, but they are one of the most efficient early-game stops because the area is small and the verticality is limited. I treat the Base Zone as a calibration run: if I can clear it without checking the map twice, I know my exploration habits are still sharp. The chests reward Stellar Jade, Credits, experience, and destination resources such as Strales, which means the route pays out in several currencies at once. For a new player in 2026, this is a low-risk way to build an account; for a returning player, it is a quick top-up before the next banner.
My final count after the 2026 revisit was unchanged: seven Basic Chests and one Precious Chest. The only gate is the Road to Revival side quest from Arlan, which unlocks the right wing. Once that is done, the Base Zone becomes a tidy circuit—south from the anchor, behind the stairs, around the wall, up to the medical facility, out the right path, into the Monitoring Room, across to the opposite room, and finally through the Triple Authentication door for the Precious Chest. It is not the most dramatic treasure hunt in the cosmos, but it is reliable, and reliability is its own kind of luxury.