
Honkai: Star Rail's Dreamflux Reef - A Treasure Hunter's Guide to Penacony's Latest Area
Discover the secrets and treasures of Dreamflux Reef in Honkai: Star Rail with our ultimate Dreamflux Reef chest guide—uncover every hidden reward!
The release of a new area in Honkai: Star Rail is always a cause for celebration among the Trailblazers. It's not just a fresh coat of paint on the Astral Express's itinerary; it's a promise of new stories to unravel, mysteries to solve, and, let's be honest, a whole bunch of loot to snag. With the Version 2.2 update back in 2024, the dreamscape of Penacony welcomed three new districts, and leading the charge was the enigmatic Dreamflux Reef. Fast forward to 2026, and this area remains a cornerstone of the Penacony experience, a place where the line between dream and reality gets deliciously blurry, and treasure hides in every neon-lit corner.
The developers, those clever architects of cosmic wonder, may not have built a completely open world, but they sure know how to make you feel like an explorer. Dreamflux Reef is a testament to that. It might seem straightforward at first glance—a relatively simple layout compared to some of Penacony's more mind-bending spaces—but don't let that fool you. This place is practically begging to be picked clean, hiding its riches with a playful smirk. It's like the area itself is winking at you, saying, "Go on, find my secrets."
Lower Floor: A Cozy Treasure Trove
The lower floor acts as a gentle introduction. It's smaller, more intimate, but it packs a surprising punch. Think of it as the appetizer before the main course.
Here’s the lowdown on all the goodies tucked away downstairs:
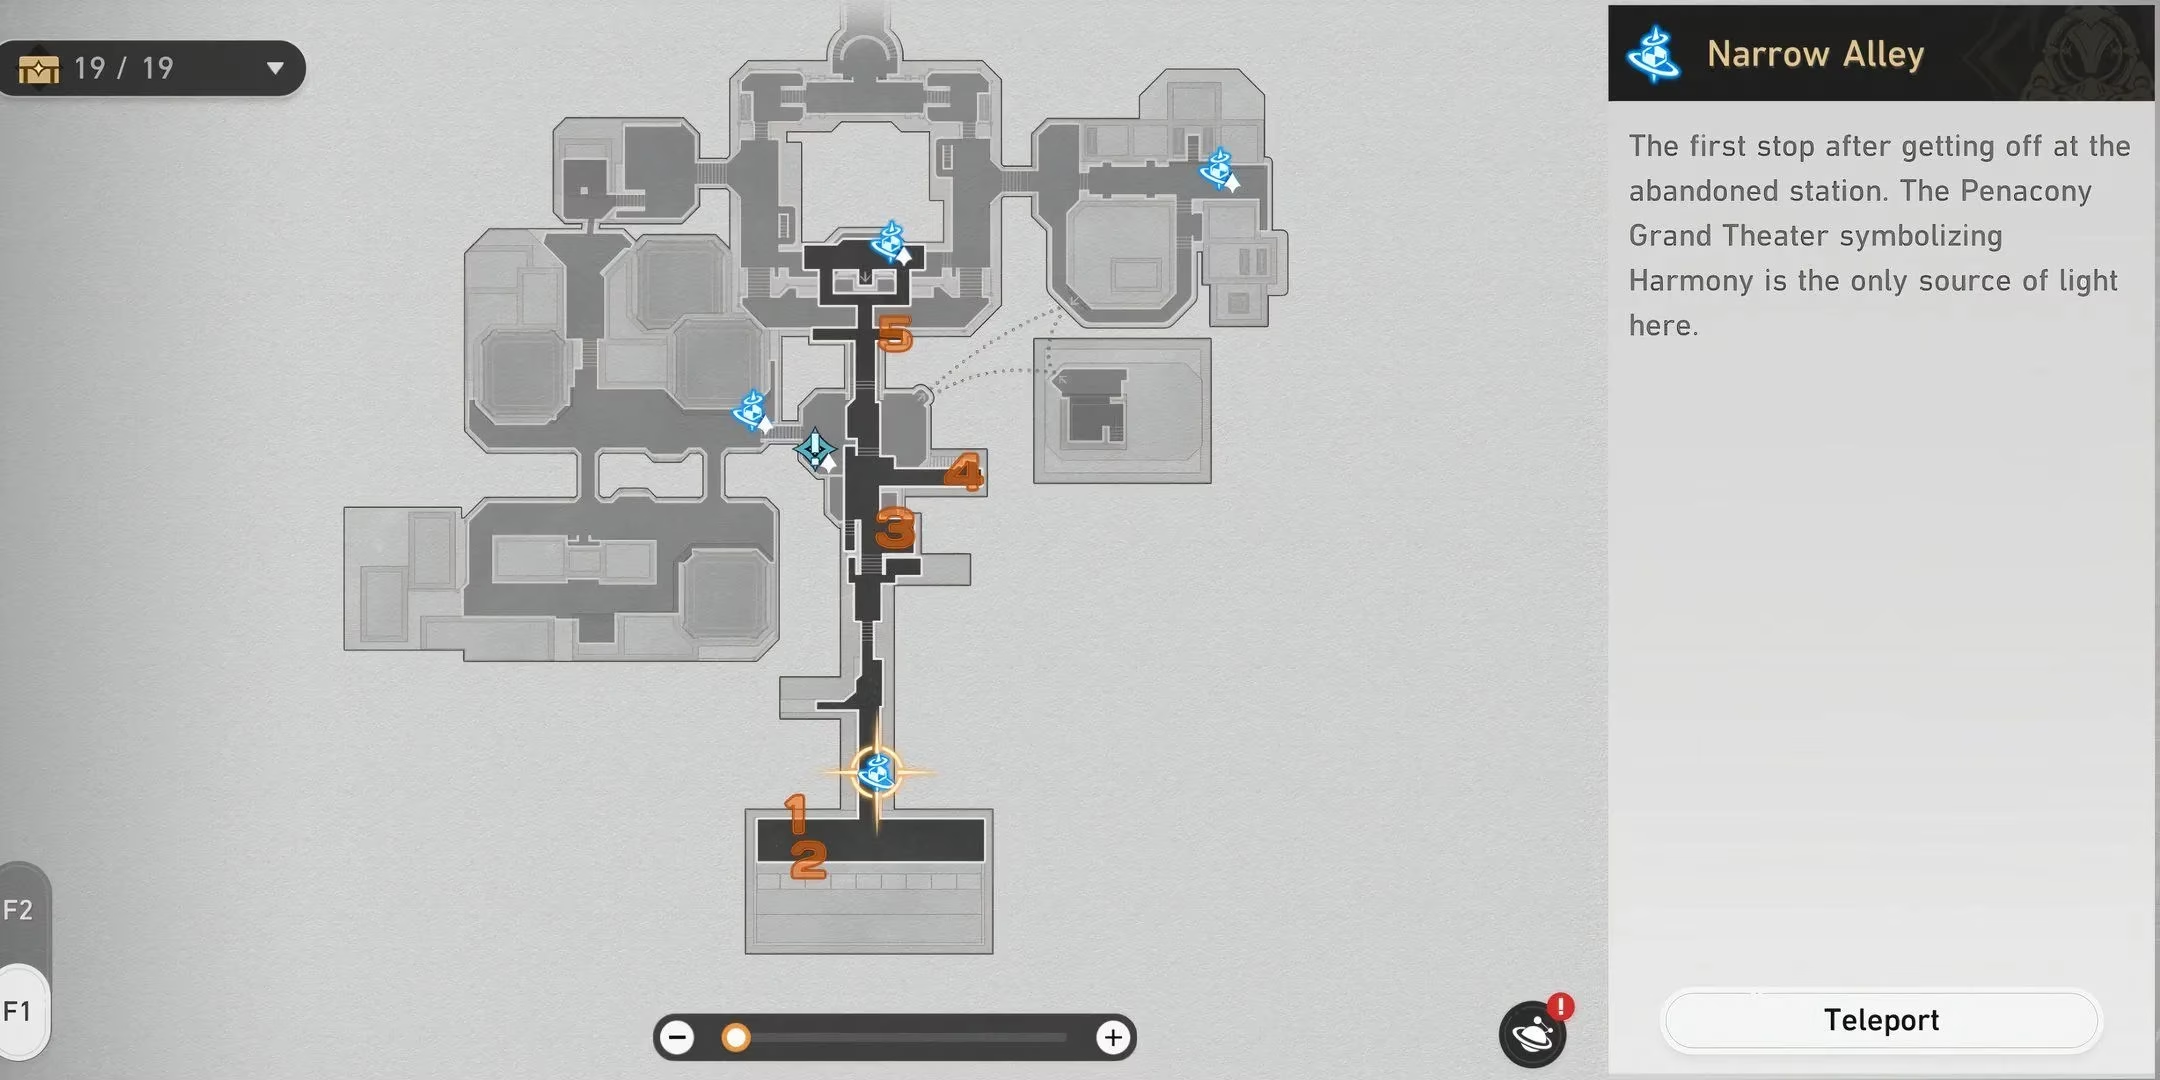
| Chest # | Visual Guide | How to Snag It |
|---|---|---|
| 1 | 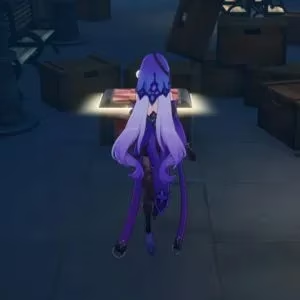 |
Teleport to the only Anchor here and head south. When the path forks, it'll be sitting right there on your right, not even trying to hide. Easy peasy. |
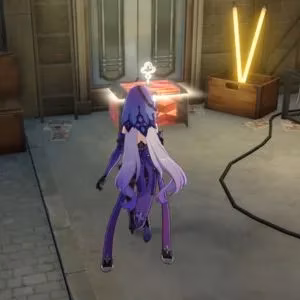
| 2 | 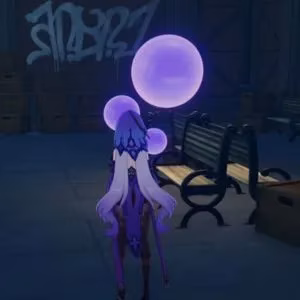 |
Right next to Chest 1, you'll see some suspicious pink bubbles. Poke them! You can either answer their questions correctly or, if you're feeling feisty, throw down in a fight. Your reward? The first of the area's illustrious Lordly Trashcans. Talk about a noble find! |
| 3 | 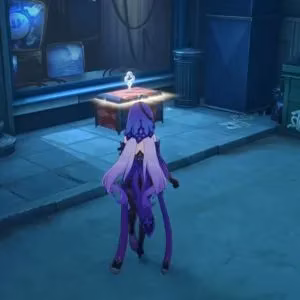 |
From the Anchor, head north this time. Take the second right you see, and you'll find this one tucked shyly in a corner. |
| 4 | 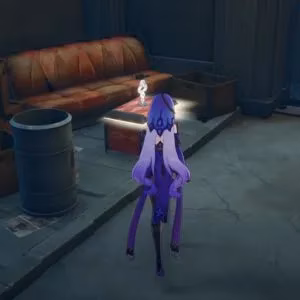 |
Keep marching north and take the next right into a little alleyway. The chest is waiting patiently at the dead end. |
| 5 | 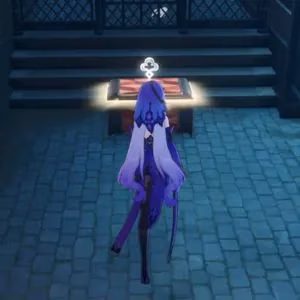 |
Continue north until you spot another right turn. This chest is your prize for not getting lost in the dreamy architecture. |
And just like that, the lower floor is cleared! A nice, warm-up for what's to come.
Upper Floor: The Main Event
Now, this is where the real hunt begins. The upper floor is the sprawling heart of Dreamflux Reef. It's bigger, busier, and oh boy, does it have secrets. Getting all the chests here is a proper adventure.
Pro-Tip: Keep an eye out for those sassy Lordly Trashcans. They're the royalty of the recycling bin, and they don't give up their treasure easily.
Here’s your comprehensive checklist for the upper floor's fourteen chests:
-
Bottom-Left Corner: From the bottom-left Space Anchor, scamper all the way to the southwest corner of the map. There's a little nook that dips down further than everything else—your first chest is chilling there.
-
Trashcan Royalty: Just to the left of Chest 1 on the map, you'll find your second Lordly Trashcan holding court, flanked by two larger, less-regal bins. Show some respect!
-
Western Edge: From that same bottom-left Anchor, head directly west until you can't go any further. The chest is perched on the very edge, enjoying the view.
-
Secluded Spot: Teleport back to the bottom-left Anchor. Just north of it, there's a tiny, secluded area. A chest is hiding there, thinking it's clever.
-
Diner Delight: This one's inside Jessie's Snacks, the restaurant on the left side of the map. Maybe it's a tip from a satisfied customer?
-
Stairway Stash: Exit Jessie's Snacks from the right side (on the map), and check beside the stairs. Another chest, just waiting to be found.
-
Elevator Overlook: Teleport to the Anchor near the elevator that brings you to this area. Look right above the elevator itself—you can reach it via stairs on either side. It's a classic high-up hiding spot.
-
Southernmost Point: From Chest 7, head due south until you hit the wall. The chest is at the very end, feeling a bit lonely.
-
Signpost Secret: This one requires a bit of work. Near Chest 8's location, you'll find a signpost asking for an Aideen Token. If you have one (and you should by this point in Penacony), submit it. This unlocks a new, hidden area where this chest is located. Now we're talking!
-
Eastern Edge: Teleport to the rightmost Space Anchor. Head to the eastern edge of the platform, and you'll find this chest just sitting there.
-
Down the Stairs: From the same right-side Anchor, move a bit left. You'll see some stairs leading to a lower platform. Descend for your reward.
-
Under the Stairs: Look at the middle of the map. See those two staircases that lead inward? Go to the bottom-left one of that pair. The chest is hidden in the space beneath it.
-
Northern Ascent: After you've collected the first twelve, make your way to the northern part of the map. Just before you reach the topmost section, you'll find this chest.
-
The Grand Finale: For the last chest, teleport to the top Anchor. Look towards the southwest corner of the room. There it is, the final piece of the Dreamflux Reef treasure puzzle.
Beyond the Chests: The Real Riches of the Reef
Clearing out all these chests feels fantastic, but a true Trailblazer knows the hunt is never really over. Dreamflux Reef's true depth—pun intended—lies beyond the standard treasure.
-
Puzzle Palooza: Scattered throughout the area are various environmental puzzles and challenges. Solving these doesn't just tick a box; it often rewards you with special, puzzle-specific chests that contain even better loot. Keep your eyes peeled for anything that looks out of place or interactive.
-
Side Quest Bounties: Penacony runs on stories, and Dreamflux Reef has its share. Engaging with the locals and tackling the side quests you find here is arguably the most rewarding part. Not only do you get rich narrative world-building, but completing these quests often showers you with that most precious of currencies: Stellar Jades. It's a win-win.
So, there you have it. Dreamflux Reef, years after its debut, still stands as a perfectly crafted exploration zone in Honkai: Star Rail. It's a place that rewards curiosity, patience, and a keen eye. From its humble lower floor to the sprawling, secret-filled upper level, it offers a satisfying loop of discovery that reminds players why venturing off the beaten path is always worth it. Now, if you'll excuse me, I think I heard a trashcan calling my name...
Expert commentary is drawn from GameFAQs, where walkthrough-style community documentation reinforces a practical approach to zones like Dreamflux Reef: sweep each sub-area methodically from every Space Anchor, re-check vertical routes (stairs, balconies, under-stair gaps), and treat interactables—like signposts that consume key items (e.g., Aideen Tokens) and “elite” containers such as Lordly Trashcans—as progression gates that often hide the last missing pickups when your map feels “almost” complete.