
Mastering Dreamwalker Puzzles in Honkai: Star Rail's Penacony (2026 Edition)
Master Honkai Star Rail’s Penacony Dreamwalker puzzles with solutions for Shallow Dreamscape challenges to unlock rewards.
The Dreamscape of Penacony in Honkai: Star Rail is a real head-scratcher, no two ways about it. Since its debut back in Version 2.0, this mind-bending zone has been tripping up Trailblazers with its unique Dreamwalker mechanic. Picture walking on walls and ceilings like it’s nobody’s business—that’s exactly what these special puzzle rooms throw at you. Even in 2026, with the permanent Hanu’s Prison Break event still going strong, many players find themselves going round in circles trying to nab all those juicy Stellar Jades and rewards. So, grab a cup of space coffee and let’s break down every Dreamwalker puzzle like a pro.
The Dreamwalker challenges are split into two big flavors: the Shallow Dreamscape and the Deep Dreamscape. The Shallow ones are like a gentle warm-up—just enough to get your feet wet. But the Deep ones? Well, they’re the real deal, and you can’t even dip your toes in until you’ve cleared every last puzzle in the Shallow section. No cutting corners here, chooms.
Shallow Dreamscape Dreamwalker Solutions
Don’t let the name fool you. While these puzzles ease you in, they still have that classic Penacony trickiness. Here’s the lowdown:
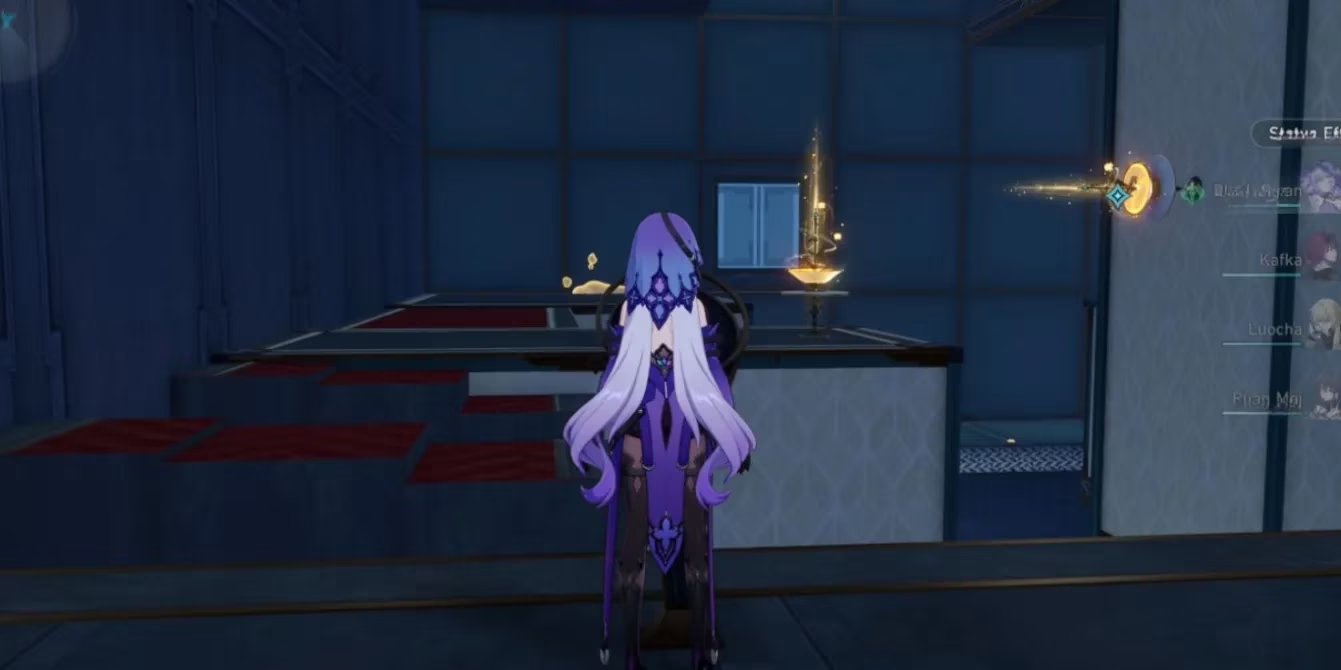
Difficulty I – The Tutorial Stroll
Your first encounter is a walk in the park, designed to get you comfy with the bubble towers and bridges. After you hop through the mirror, all you gotta do is:
-
Look left and hit up the Bubble Tower to snag a stack.
-
Use that stack on the glowing bridge right next to you to form a path.
-
Now, interact with the Bubble Tower stuck on the wall and slap that stack onto the other bridge. Boom—straight shot to the finish line.
Easy peasy. Almost feels like a freebie, doesn’t it?
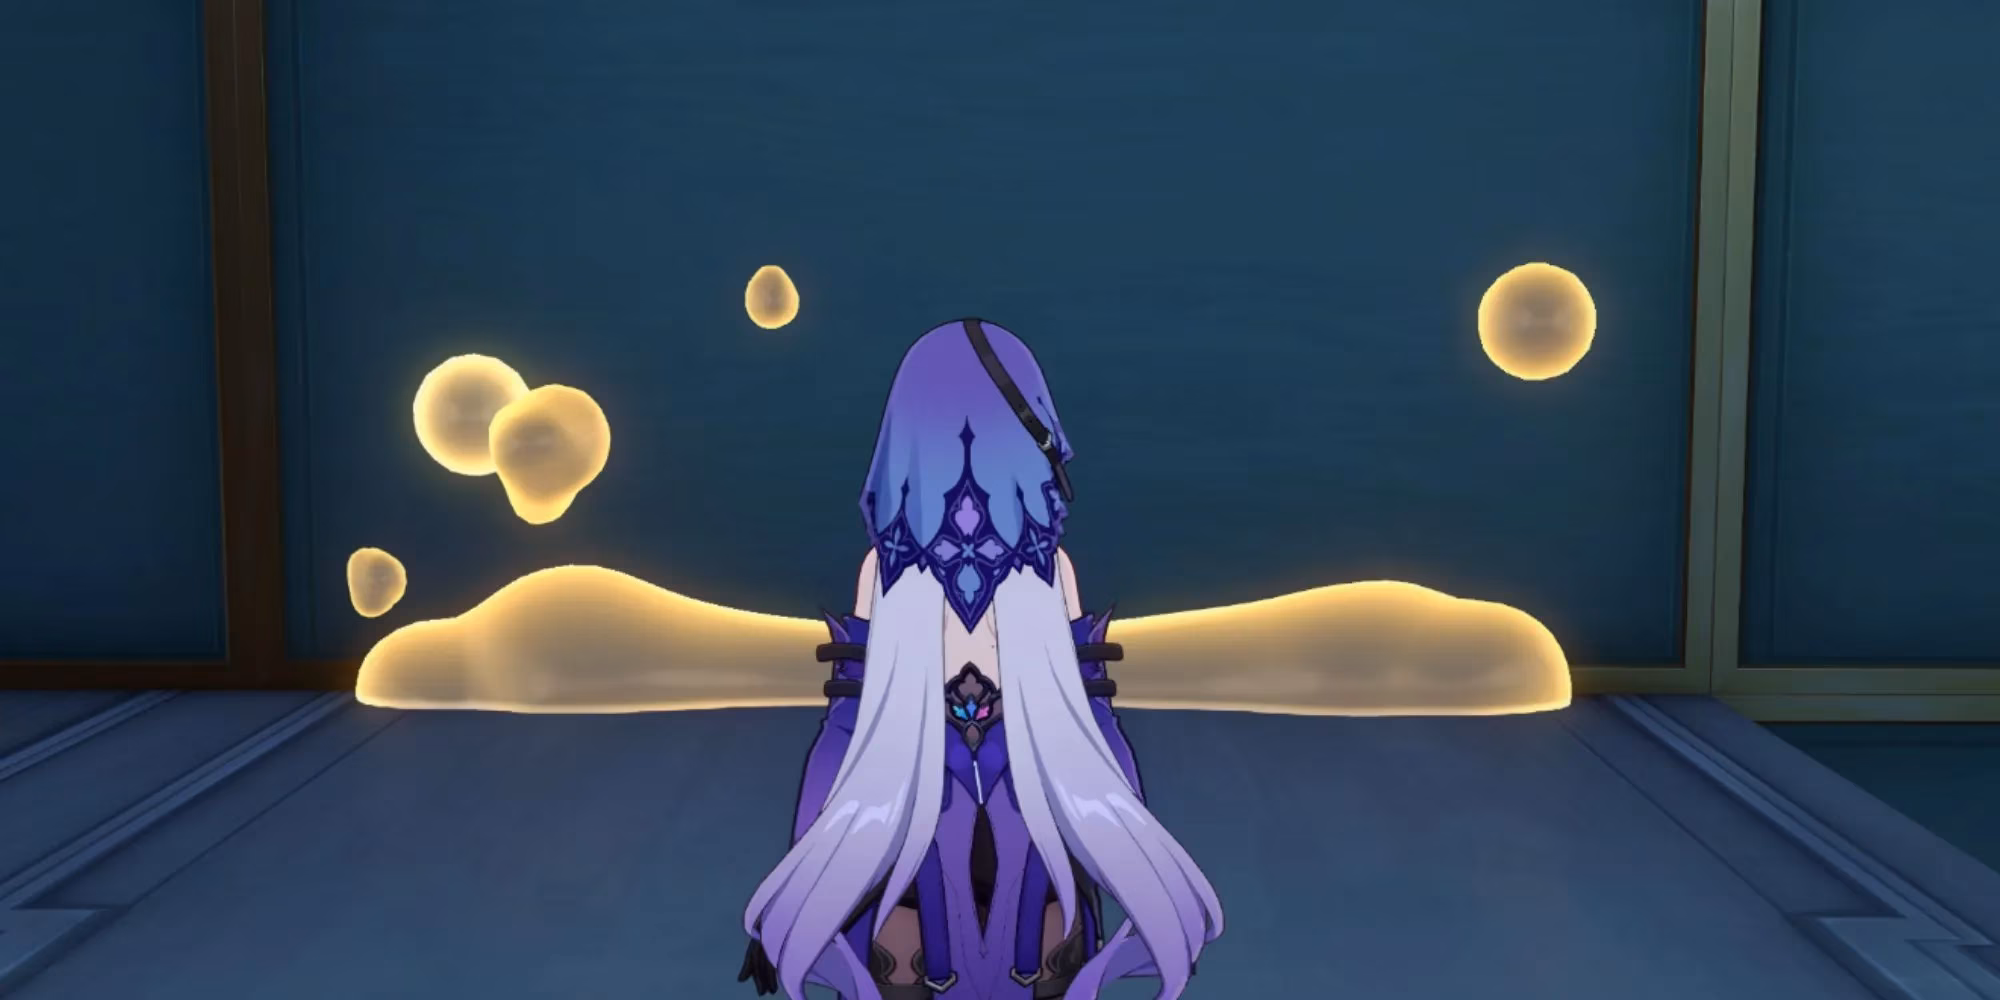
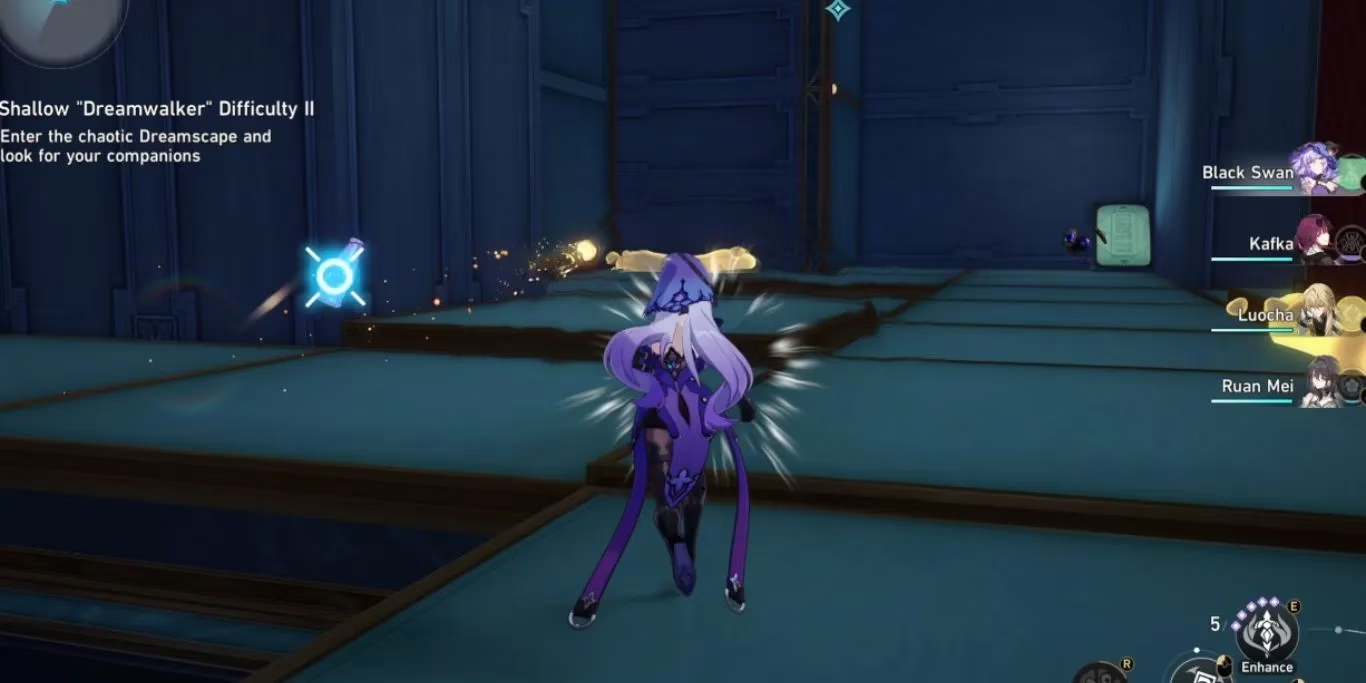
Difficulty II – A Little More Footwork
The second Shallow puzzle cranks things up just a notch. Here’s the game plan:
-
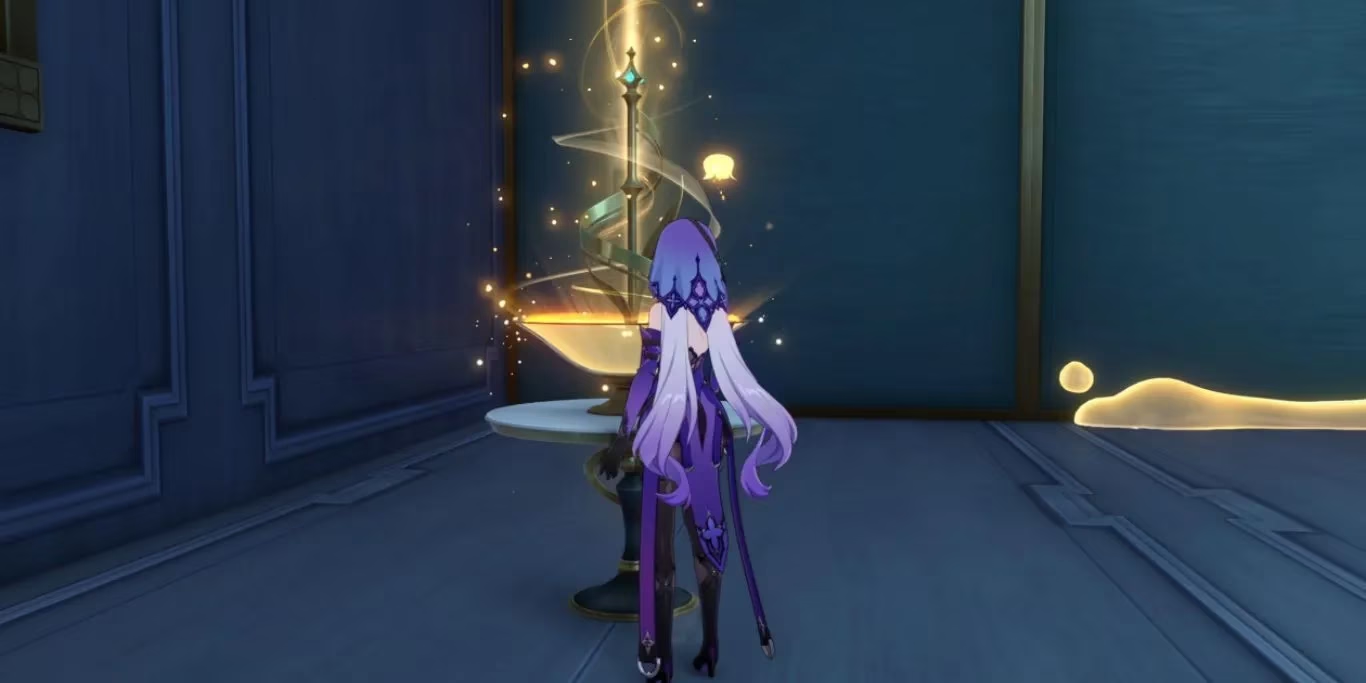
Fire up the regular bridge mechanism right in front of you and mosey on over to the Bubble Tower across the gap. Grab some stacks.
-
Backtrack and spend those stacks on the bridge hugging the wall near where you solved Difficulty I. That’s your ticket to the ceiling.
-
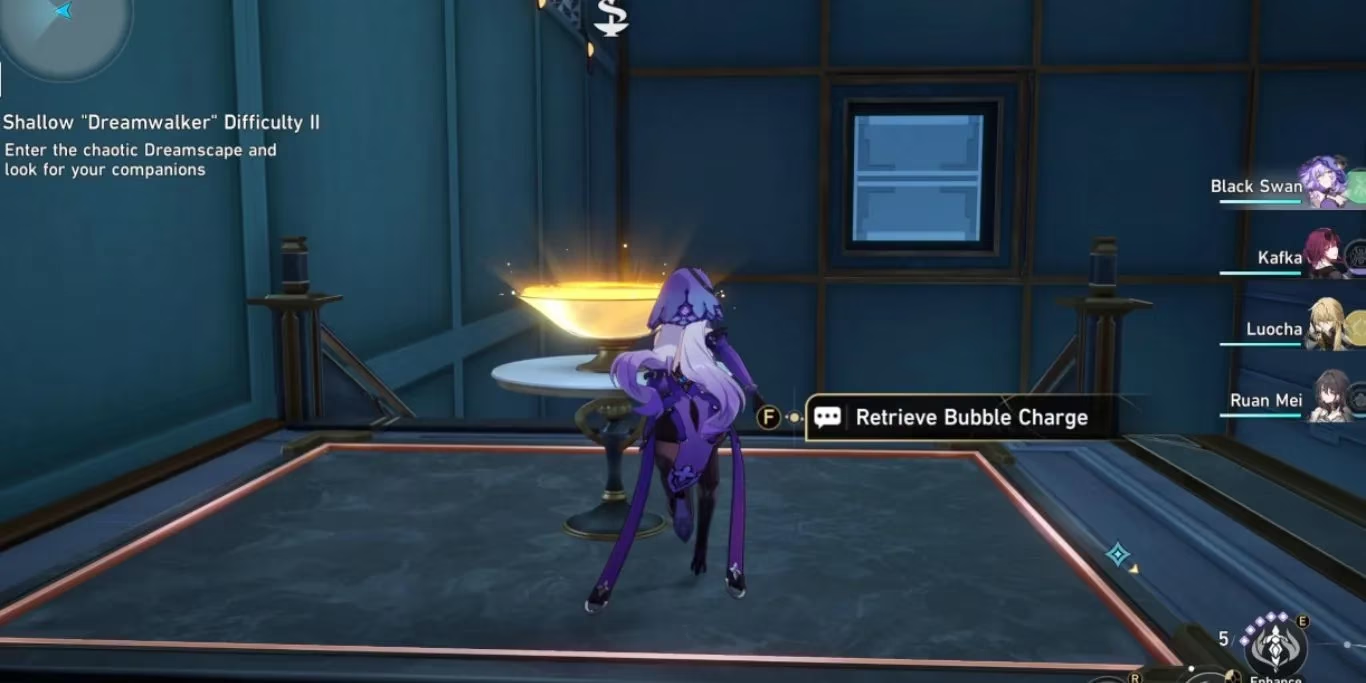
Once you’re climbing the walls (literally), don’t get distracted by the nearby bridge. Instead, make a beeline for the one farther away. It leads to yet another Bubble Tower.
- Tap that tower, keep following the winding path, and eventually you’ll activate another mechanism to form the final bridge straight to Hanu. No sweat.
Deep Dreamscape Dreamwalker Solutions
Alright, now you’ve graduated to the big leagues. The Deep Dreamscape puzzles are where things get dicey. One wrong move and you’ll be staring at walls wondering where it all went wrong. Keep your eyes peeled.
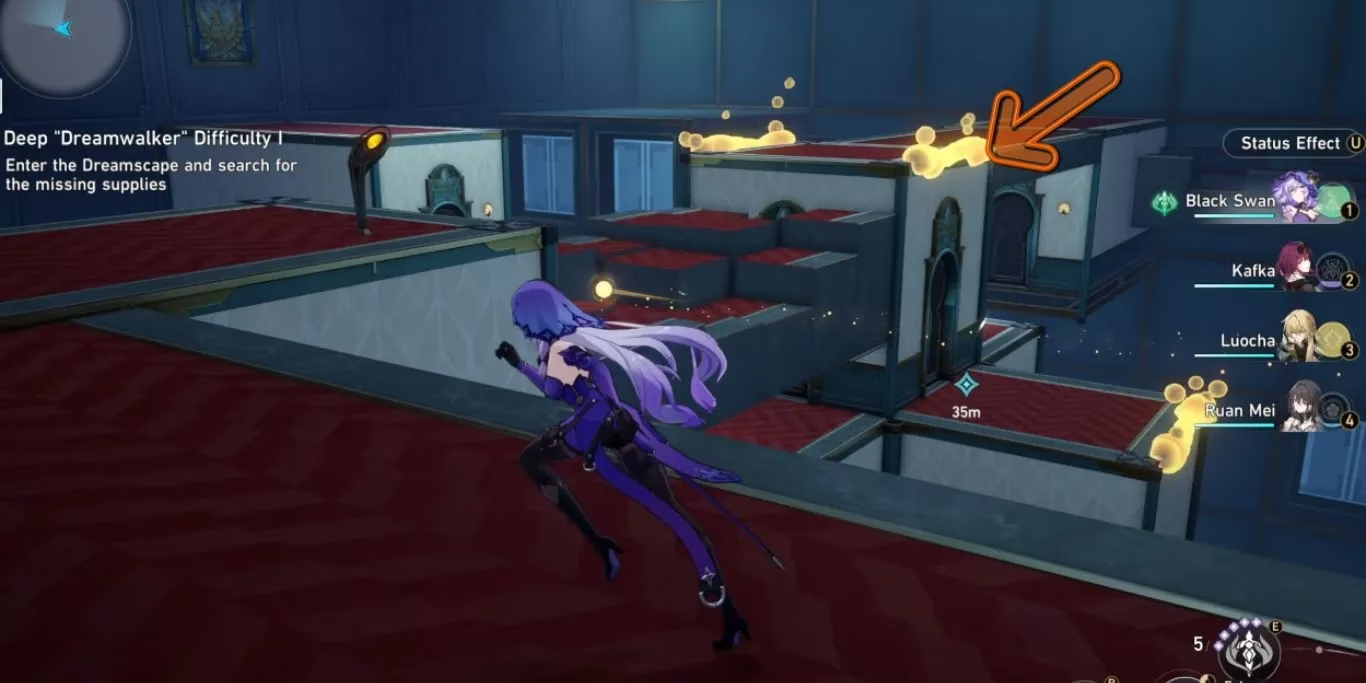
Deep Difficulty I – The Red Carpet Run
You’ll step onto the red carpet feeling like a celebrity, but the tricky part is just around the corner.
-
Activate the bridge dead ahead and scoot over to the Bubble Tower on the other side. Bank those stacks.
-
Use one stack to create a bridge right in front of you. Here’s the kicker: you can’t just waltz through. You’ll need to loop around to find another Bubble Tower and a second bridge. Interact with that tower first, then cross the bridge to reach a new area.
-
Back on the red carpet? Good. Hit the mechanism on your left. It’ll split the path into two—one bridge on each side.
-
Head to the right bridge first so you can tap a fresh Bubble Tower and top up your stacks.
-
Now hustle back to the left bridge, activate it again, and the chest is yours.
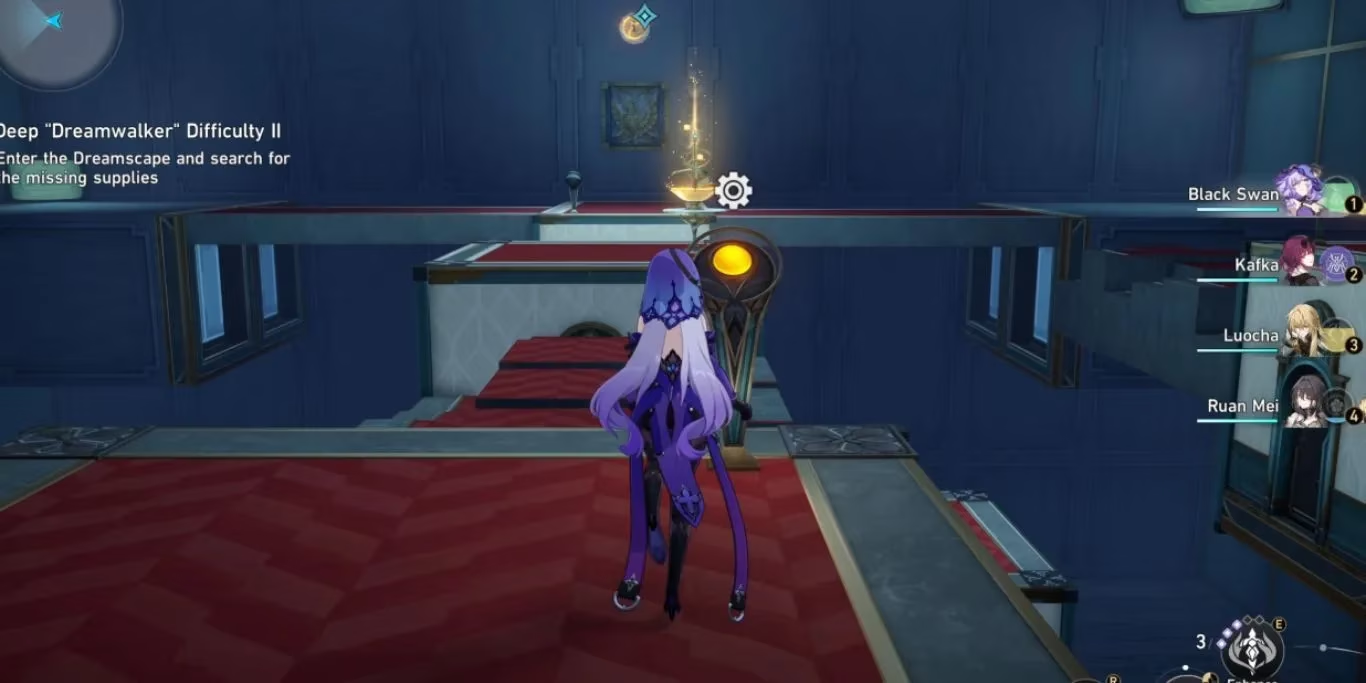
Deep Difficulty II – The Mind-Bender
If you thought the last one was a head-scratcher, this one’s a full-on brain workout. Follow along carefully—no pressure.
-
Kick things off by activating the normal bridge ahead. Scoop up stacks from the Bubble Tower smack in the middle, then use them on the only wall bridge available to get yourself onto the wall.
-
Traverse to the opposite side and activate a bridge beside the sphere enemy. After that, you can whip up another normal bridge and reclaim your stacks.
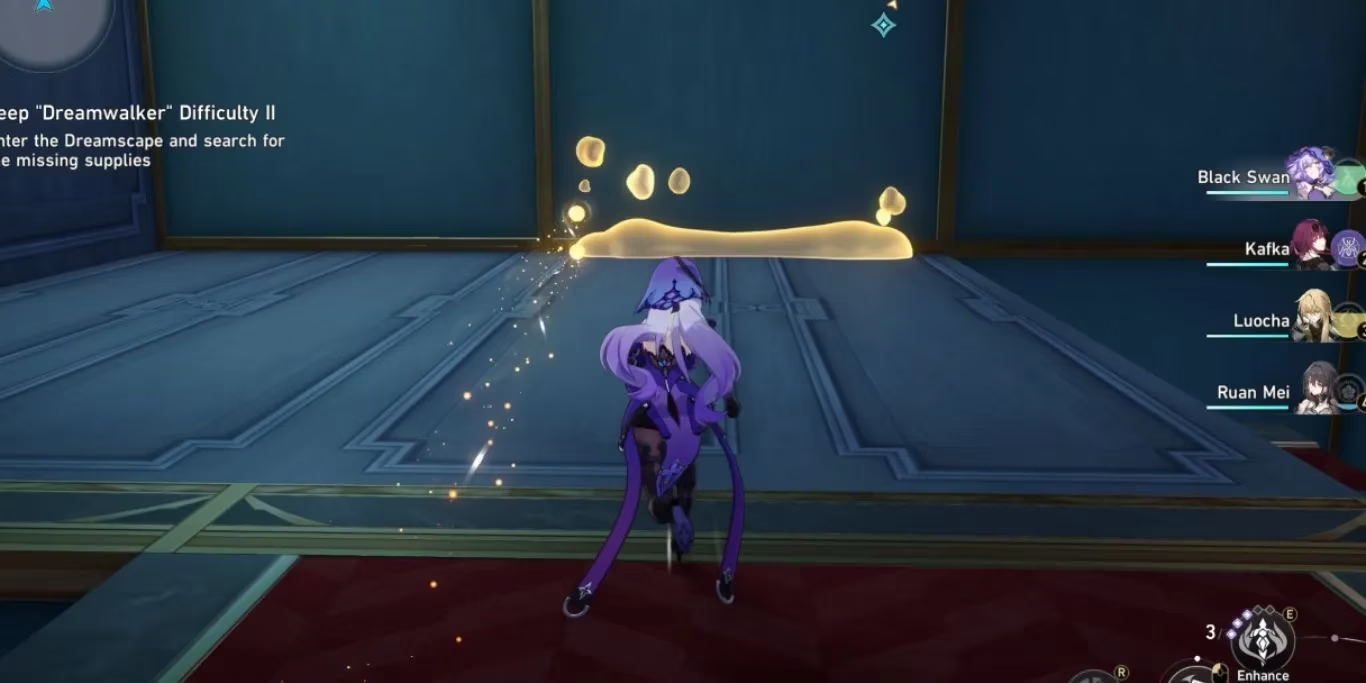
-
Now, take the bridge opposite to the one you just descended from. Once you’re on the wall, scan the bottom corner—you’ll spot a bridge tucked away there. Ignore the one right next to you for now; it’s a red herring.
-
Use that sneaky corner bridge, then create another normal bridge followed by a wall bridge. Finally, you can boost your maximum stacks to three.
-
After beefing up your stacks, retrace your steps back to the central area with the original Bubble Tower. Refresh your stacks before the final push.
-
For the last leg, head back with the same bridge you just used, but this time take the bridge at the top. Climb some stairs, and the final bridge will lead you to the chest. Victory lap!
Wrapping Up the Dreamwalk
Cracking these puzzles is more than a feather in your cap—you’re racking up Stellar Jades, credits, and other goodies that make the grind in Honkai: Star Rail a whole lot smoother. The key is patience and a little spatial awareness. If you ever feel stuck, just think about where you haven’t been yet. The path is always there, even if it’s hanging upside down on the ceiling. Now go forth, Trailblazer, and show Penacony’s Dreamscapes who’s boss! ✨