
Navigating the Dreamscape Labyrinths: My Complete Guide to Honkai: Star Rail's Loothunt in Mazeville Quest
Penacony's Grand Theater and the Loothunt in Mazeville quest in Honkai: Star Rail 2.2 offer thrilling, mind-bending exploration and rewards.
As a dedicated Trailblazer, exploring Penacony's Grand Theater in the Version 2.2 update was an unforgettable experience. The introduction of 3D dreamscape rooms, with their contorted geometries and winding corridors, presented a delightful challenge unlike anything I'd encountered before in Honkai: Star Rail. The Loothunt in Mazeville quest, in particular, became a personal test of spatial reasoning and persistence, tasking me with finding 11 hidden chests across three ever-changing mazes. The journey began simply enough by checking my messenger for a chat titled "Business is Business," which set me on the path to this mind-bending adventure.
Conquering the First Maze
The initial dreamscape felt both familiar and alien. The rules were simple: manipulate the environment using Bubble Charges and Dream Modules to create pathways. Here's exactly what I did to secure those first three treasures:
-
Initial Approach: I immediately picked up the Bubble Charge right in front of the entrance. With one charge in hand, I crossed the first bridge I spotted on my left.
-
Capacity Upgrade: This led me to a second Bubble Charge station, which generously increased my carrying limit to two charges—a crucial upgrade for the puzzles ahead.
-
Backtracking for Progress: I returned to my starting point, used the first charge again, and this time headed right toward a different bridge. A Dream Module awaited my interaction there.
-
First Treasure Secured: After crossing this new bridge and collecting more bubbles, I turned around and descended a flight of stairs. To my delight, Chest #1 sat waiting for me!
-
Ascending Challenges: I climbed back up and used the Bubble Bridge conveniently located on the right. This elevated path led to a platform with some hostile entities. I chose to avoid confrontation and moved toward another Bubble Charge station on the platform's right side.
-
Path Manipulation: Fully recharged, I interacted with a Dream Module positioned at the far left edge of the platform. Turning around, I used a newly available Bubble Bridge on the right, which led me to another Dream Module guarding an unstable, broken path.
-
Final Stretch: After fixing the path, I descended another set of stairs to claim Chest #2. The final leg was straightforward: heading back up those stairs led me directly to Chest #3. A conversation with the enigmatic Aymille then transitioned me to the second, more complex maze.
Mastering the Second Labyrinth
The environment shifted upon my second entry, presenting fresh configurations and challenges. My systematic approach was key:
-
Immediate Actions: I grabbed the first Bubble Charge visible on my left and promptly interacted with a Dream Module on the right. Moving it created a new Bubble Bridge.
-
Platform Hopping: Using this new bridge, I reached a higher platform containing another Dream Module. After adjusting it, I turned to collect a Bubble Charge and used the bridge behind me, which revealed Chest #4 near a group of enemies.
-
Strategic Recharging: I returned to the previous charge station, topped up my bubbles, and ventured to the platform's opposite end.
-
The Formidable Foe: Crossing a bridge on the far right and ascending stairs brought me to another charge station. After recharging, I fixed a bridge using a nearby Dream Module. Continuing straight and down some stairs, I encountered a formidable foe challenge guarding Chest #5, which also granted bonus Stellar Jades—a very welcome reward!
-
The Home Stretch: I backtracked up the stairs, manipulated another Dream Module on the right, and used the new leftward bridge it created. This led to another recharge point. Using the bridge behind this station, I descended a platform, stuck to the left wall, and found yet another Dream Module to interact with.
-
Final Treasures: The rightward Bubble Bridge from this point took me to an enemy-patrolled platform holding Chest #6. After one last Dream Module interaction, I retraced my steps to the main area, climbed a final set of stairs, and discovered the majestic Chest #7.
The Third and Final Trial
Entering the last maze, I knew precision was paramount. The steps became more intricate:
-
I picked up the Bubble Charge on my right and headed to the Dream Module directly ahead.
-
Going right, I used the first Bubble Bridge I saw, which delivered me to another charge station. I used this charge on the bridge behind me.
-
This transported me to a platform with a critical Dream Module. After interacting, I turned around and went down some stairs to another module that rearranged the environmental blocks—a cool new mechanic!
-
I returned upstairs and followed the rightward path to the first module I'd seen upon entering. Before touching it, I used the Bubble Charge behind me to unlock a new bridge.
-
A leftward bridge from here led to a platform containing Chest #8.
-
I then descended nearby stairs to face another formidable foe challenge, claiming Chest #9 as my prize.
-
The next phase required careful navigation: I went back up, stuck to the right, and climbed until I saw an unstable bridge with a Bubble Charge on the left. I recharged, went back down, and immediately to my right (near enemies) was a Bubble Bridge.
-
Crossing this and another subsequent bridge brought me to a multi-enemy area. I grabbed the Bubble Charge on the floor's right side and found Chest #10 hidden behind a block.
-
A bridge right behind the chest was my ticket forward. I followed it straight until I spotted stairs leading upward.
-
I fixed an unstable bridge at the top, crossed it, and collected a Bubble Charge at the far end. Returning the way I came, I used this charge on a leftward Bubble Bridge, repeating this process until I reached a large platform swarming with enemies and featuring two Dream Modules.
-
After grabbing another charge and interacting with both modules, I used the Bubble Bridge directly behind me. A straight path culminated in a flight of stairs, and at their peak sat the glorious final prize: Chest #11.
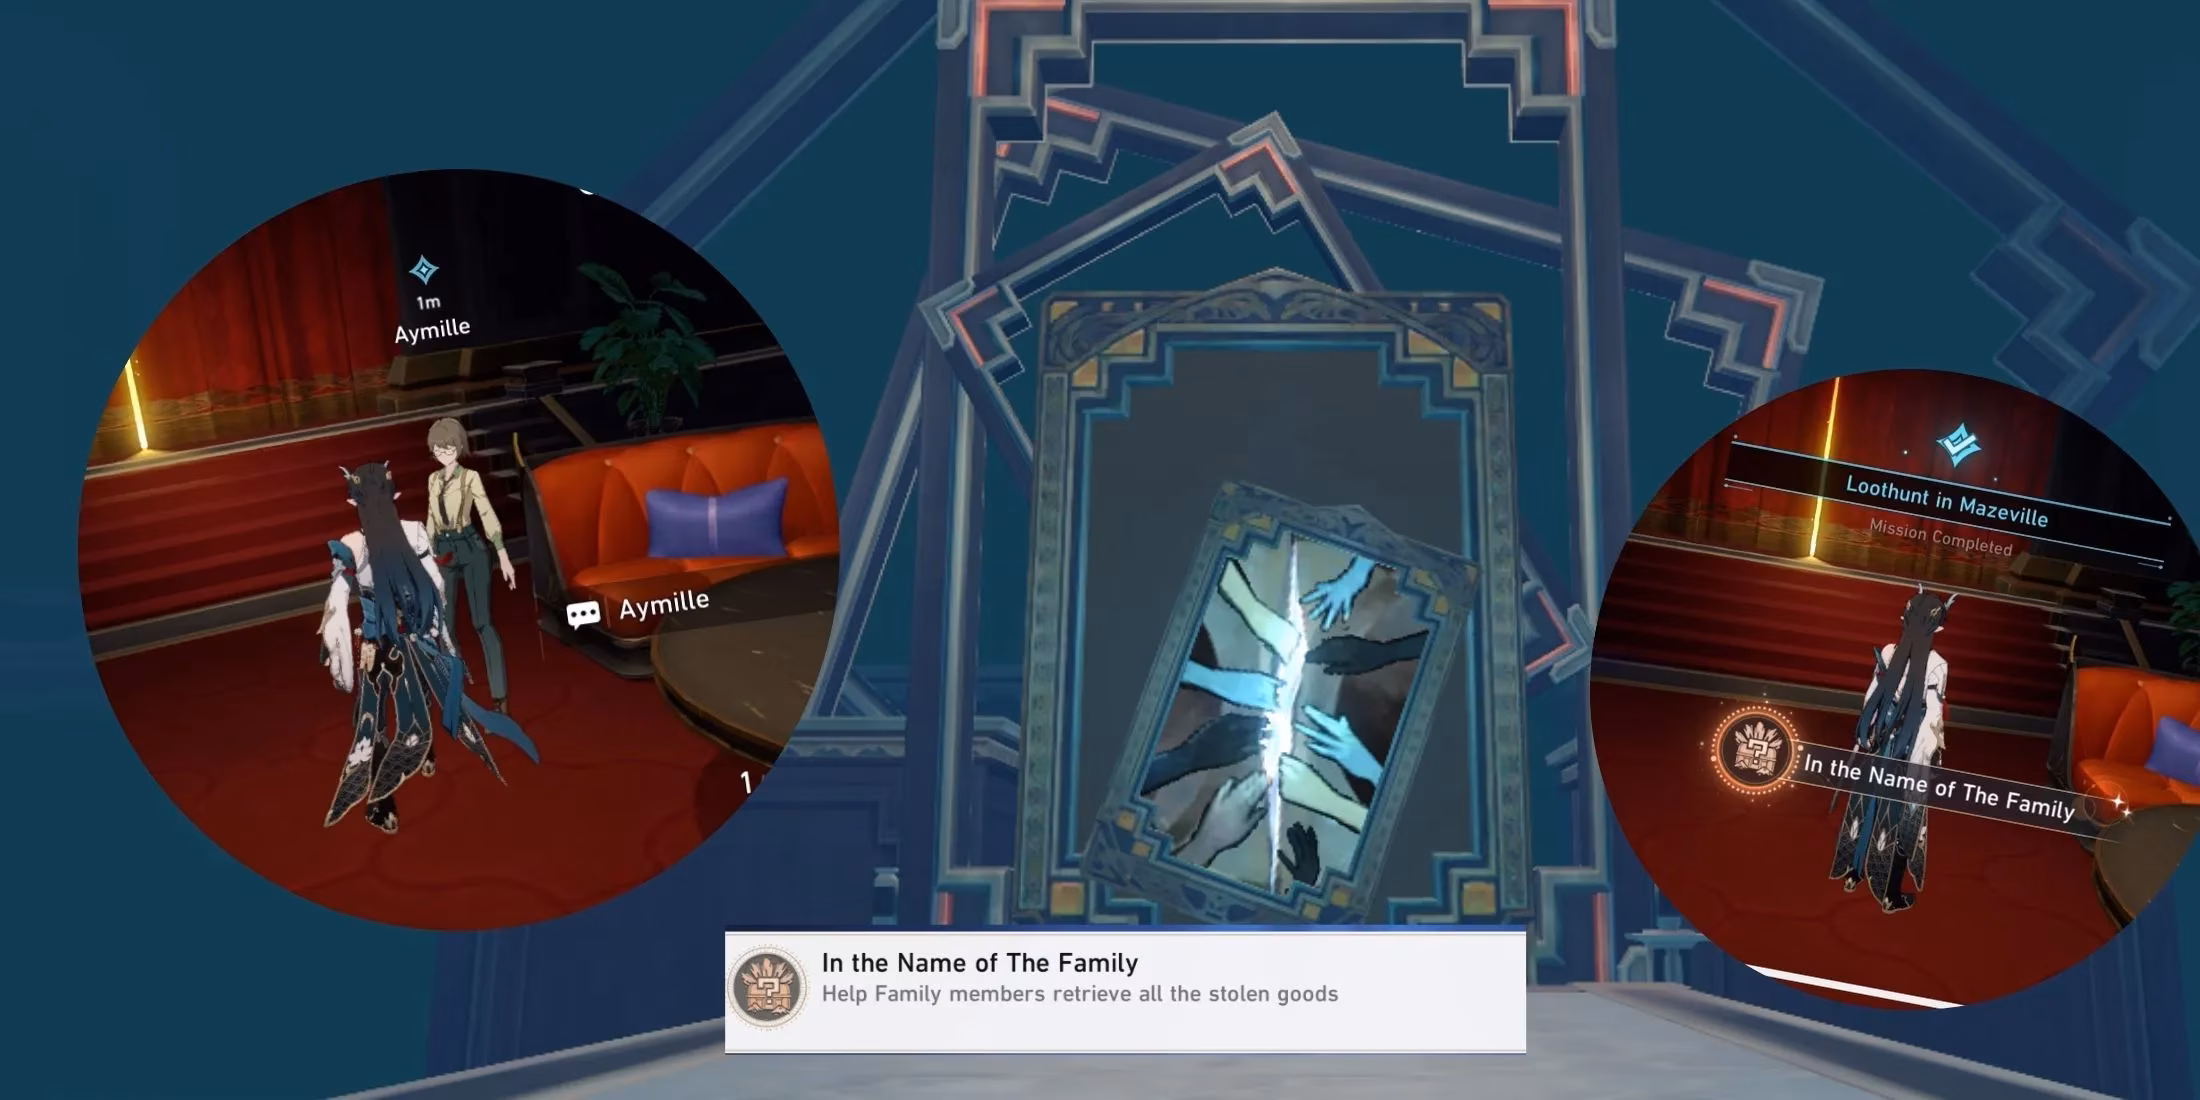
Exiting the dreamscape for the last time and speaking with Aymille was immensely satisfying. She not only congratulated me but also bestowed the coveted achievement: In The Name Of The Family. This quest, with its 11 chests across three shifting mazes, was a brilliant showcase of Honkai: Star Rail's evolving puzzle design. It perfectly blended exploration, light combat, and spatial problem-solving into a cohesive and rewarding experience that I'll remember fondly as a highlight of my Penacony adventures.